Description
July 2020 New Version! V2: Now with an extra V+ solder pad as requested.
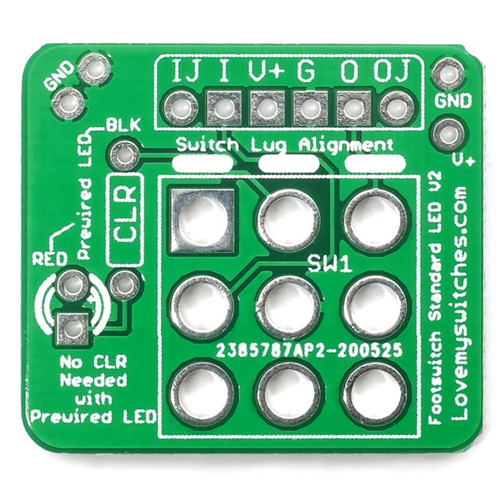
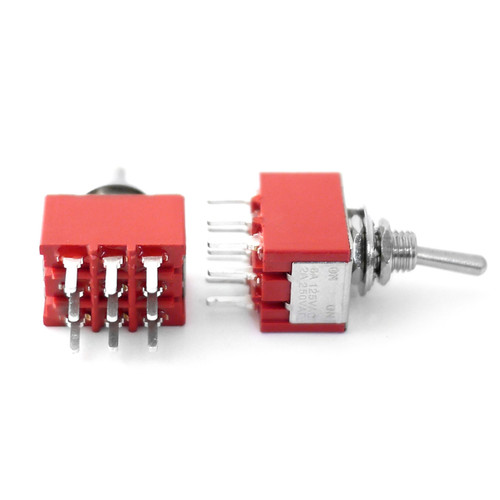
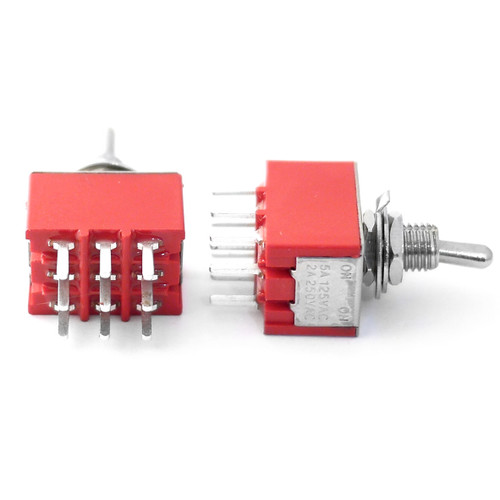
This 3PDT wiring board connects directly with standard 3PDT foot switches and is compatible with Love My Switches 3PDT foot switches (except for the Low Profile models). Solder lug switches are easier to install than PCB versions, but you can use both. The solder lug switches need less solder and fit more snugly than the PCB switches.
This popular pinout mounts directly to the stomp switch, features double-sided solder pads, and includes a solder pad for an LED resistor. (If you are using our Pre-Wired LEDs with built-in resistors, keep reading for easy instructions.)
The "Circuit In" automatically shorts to "Ground" when the switch bypasses the circuit, helping to reduce noise and switch popping.
This 3PDT switch wiring board measures 27 x 24mm. Check the images to see switch solder lug orientation.
Behold! Lots of letters are printed on this thing!
An explanation:
IJ = Input Jack Tip
I = Circuit In
V+ = Positive Voltage - there's 2!
G = Ground
O = Circuit Output
OJ = Output Jack Tip
GND = Ground
BLK/RED = If using a pre-wired LED from our store (in a 9-12VDC circuit), connect the wires here (red to RED and black to BLK) and don't use the square solder pad above the word "no" and the one under C in CLR (CLR="current limiting resistor" for LED)
If using your own LED your Current Limiting Resistor for the LED goes in CLR
The round solder pad is + and the square is -
The Specs:
3PDT wiring board PCB
Double-sided solder pads
Two 9V+ solder pads
Board measures 27 x 24mm
NOTE FOR USING PRE-WIRED LEDs: I love to use these boards with a pre-wired LED. This is the ultimate time-saving combo when it comes to pedal building. If using a Love My Switches pre-wired LED, YOU DO NOT NEED A RESISTOR since they are built into the pre-wired LED.


