

Featured Build: Secret Sauce
Posted by Rebecca on Dec 3rd 2018
We were blown away when we opened the email titled, “Perfect Knobs,” from customer Lee Campen. Not only were our Davies 1400 clone knobs a perfect match for the pedal design Lee had in mind, but the thermal bond chrome graphics were so incredible, we just had to learn more.
The Build
Secret Sauce “Roostaur” Klon clone pedal
Lee Campen of Formula Electronics, Washougal, Washington

Why Secret Sauce?
Lee: One day I was thinking about sriracha sauce for some reason, and it dawned on me that it could be a pretty funny theme for a pedal, especially if I could find knobs that look like the bottle cap.
I had the Grind Customs Chimaera board populated and sitting in my stash of partially completed projects, and I liked the sound of the circuit so decided to do that. The “Roostaur” graphic was a spontaneous thing. It was just my contribution to the fun collection of centaur jokes that show up on klones [Klon pedal clones].
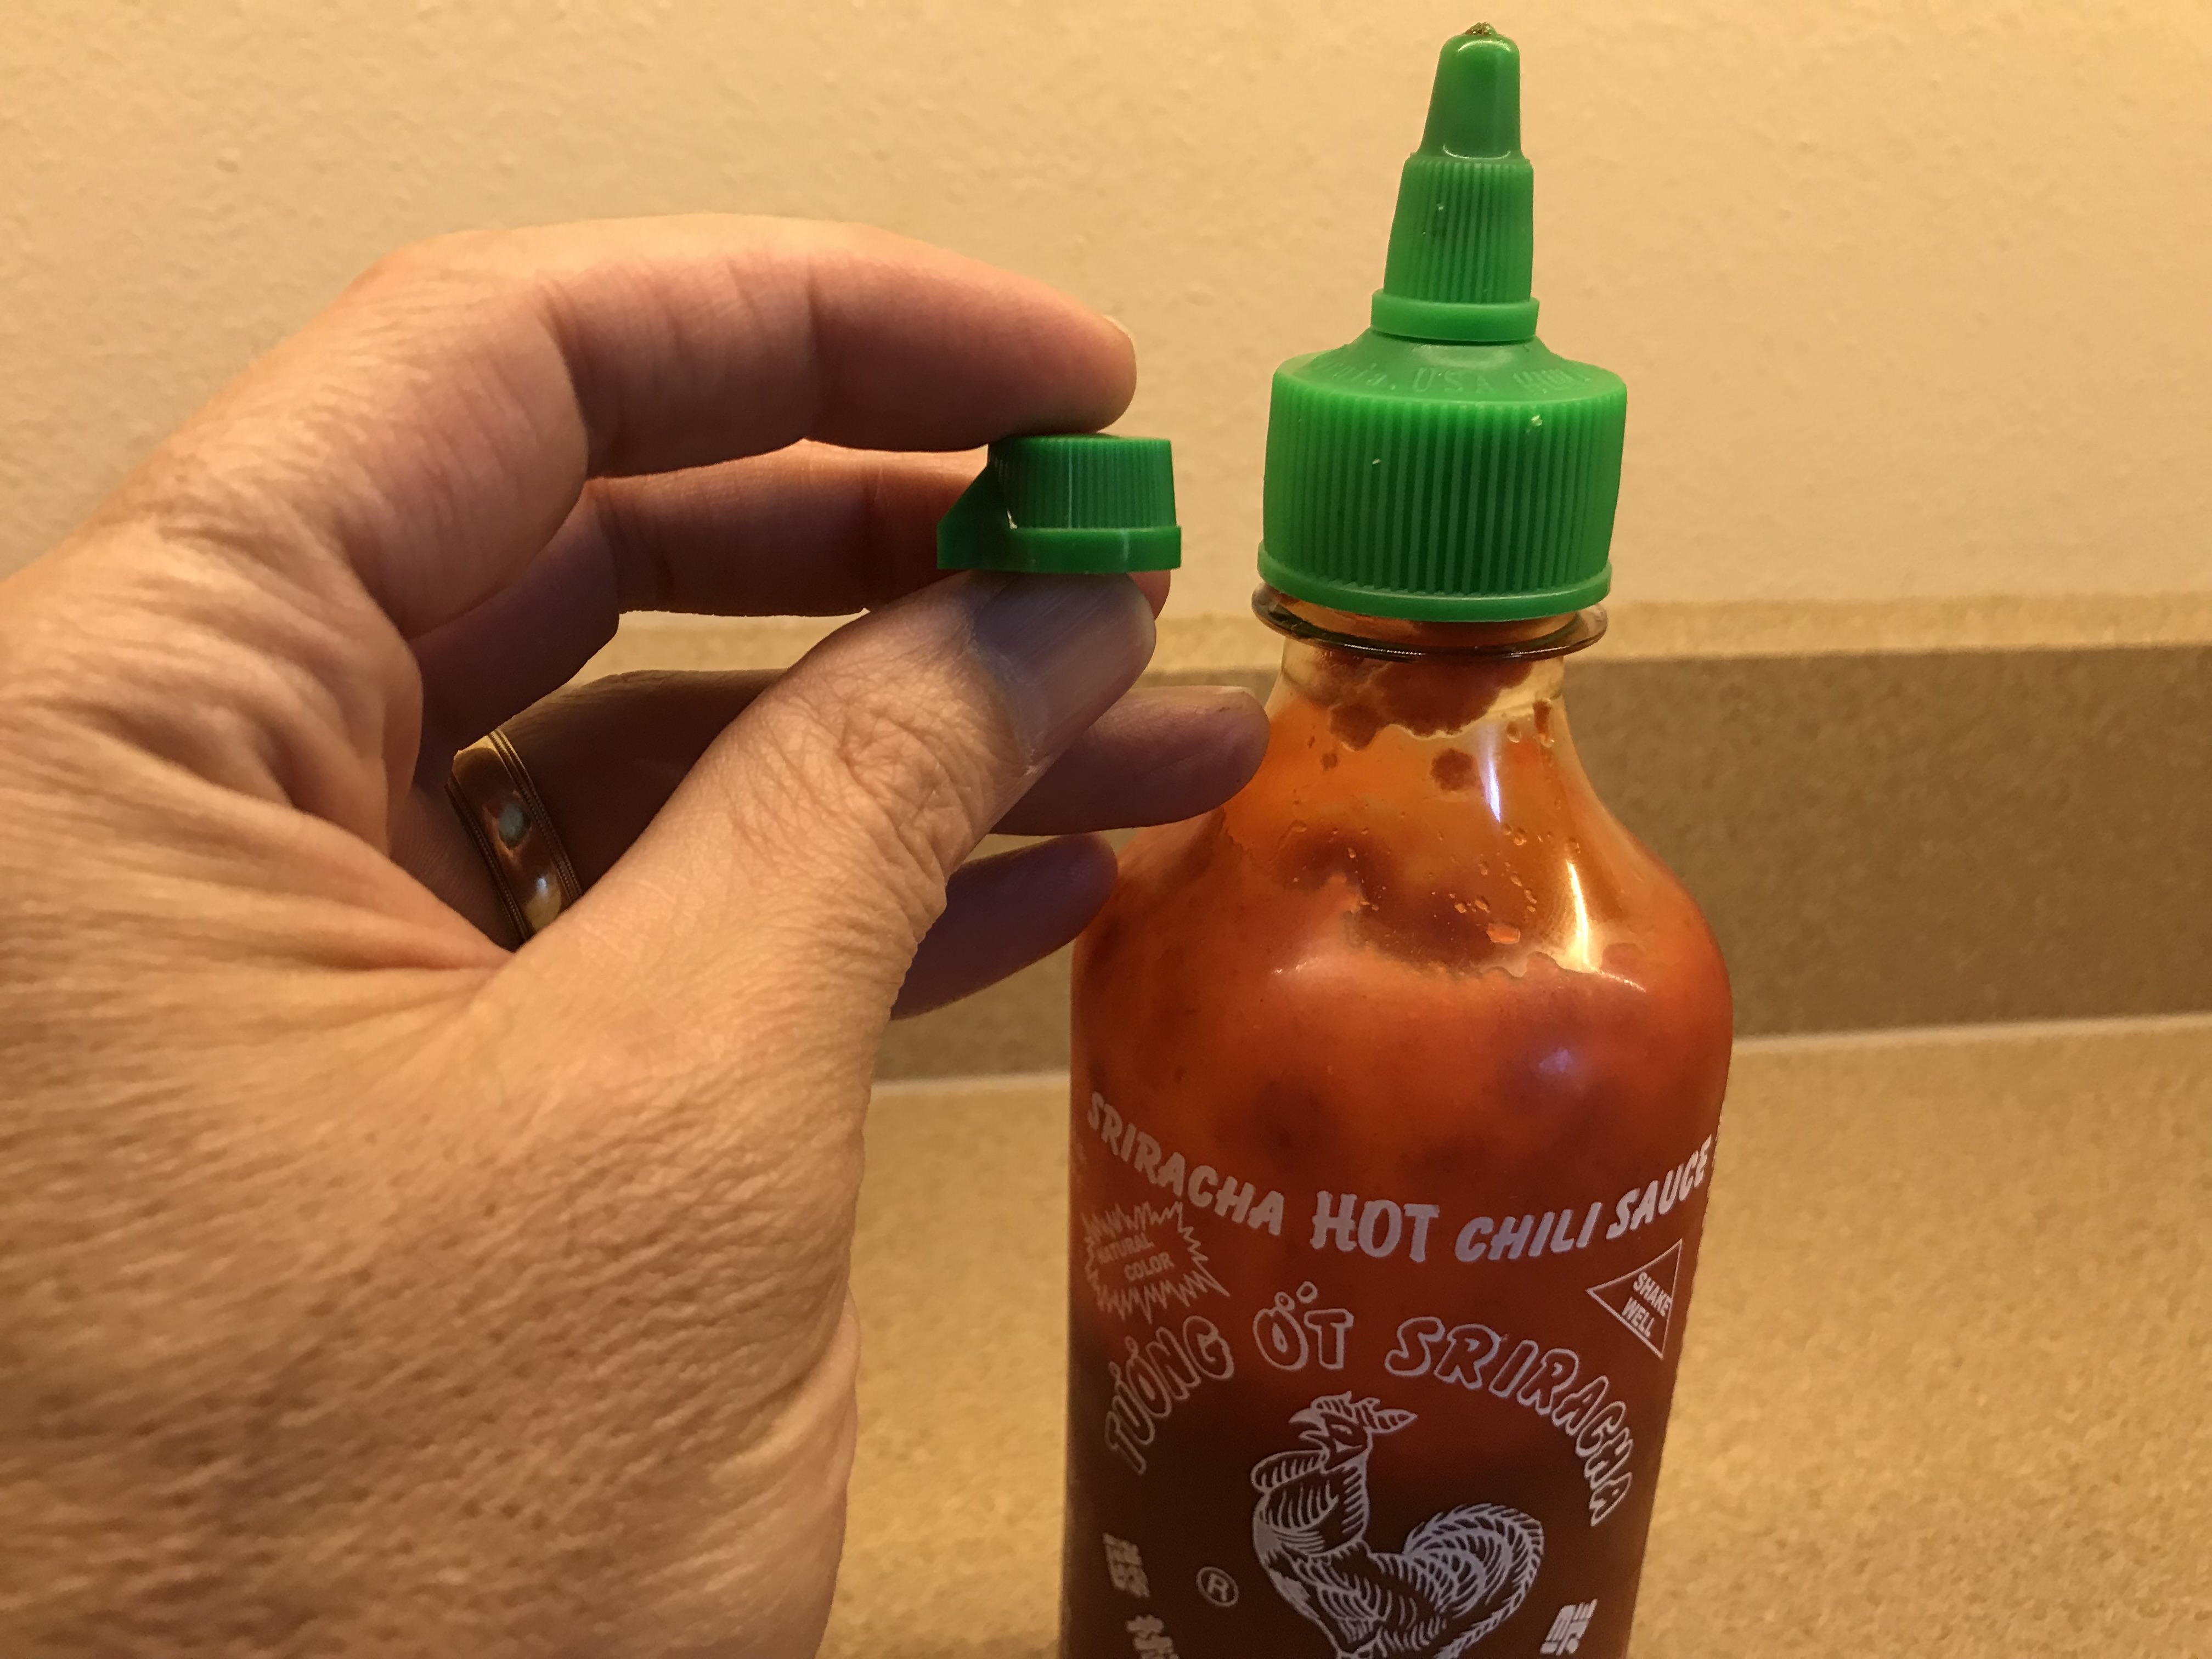
Check out that green Davies 1400 clone knob: a perfect match for the sriracha sauce cap!
Why thermal bonding for this graphic?
Lee: I needed to get a light-colored graphic onto a dark-colored enclosure. One way is to print onto a white waterslide decal, but I wanted to be able to see the color in the spaces of the graphic. I could have had it UV printed, but I had messed with a "chrome" look on another pedal, and I thought it would look cool on this one.
What are the basic steps?
Lee: The way I did it was to use a laser printer to print the image in black toner onto a clear acetate sheet. Then I used this stuff called Deco Foil. It sticks to the toner but not to the acetate when you run it through a laminating machine. After I trimmed down the acetate to final size, I needed to tightly bond it to the top of the enclosure, and I settled on using UV curing resin.
I put some resin across the top of the pedal and pressed the acetate down onto it. Then I did my best to work out all of the air bubbles. I cleaned up the resin that squeezed out the sides with isopropyl alcohol. Once I was satisfied that the graphic was down as tight as I could get it and all of the mess was off of the edges of the graphic and the pedal, I took a little UV LED flashlight and cured the resin.
The final step was to flow a two-part resin, such as Envirotex, across the top. When done well, the resin will flow right out to the edge of the enclosure, and surface tension will keep it from running down the sides. It creates the most beautiful, deep finish, and it’s really tough when fully cured. I learned this technique on the Madbean Pedal Forum from “Juansolo,” an absolute master who has put out a good tutorial on how to do it.
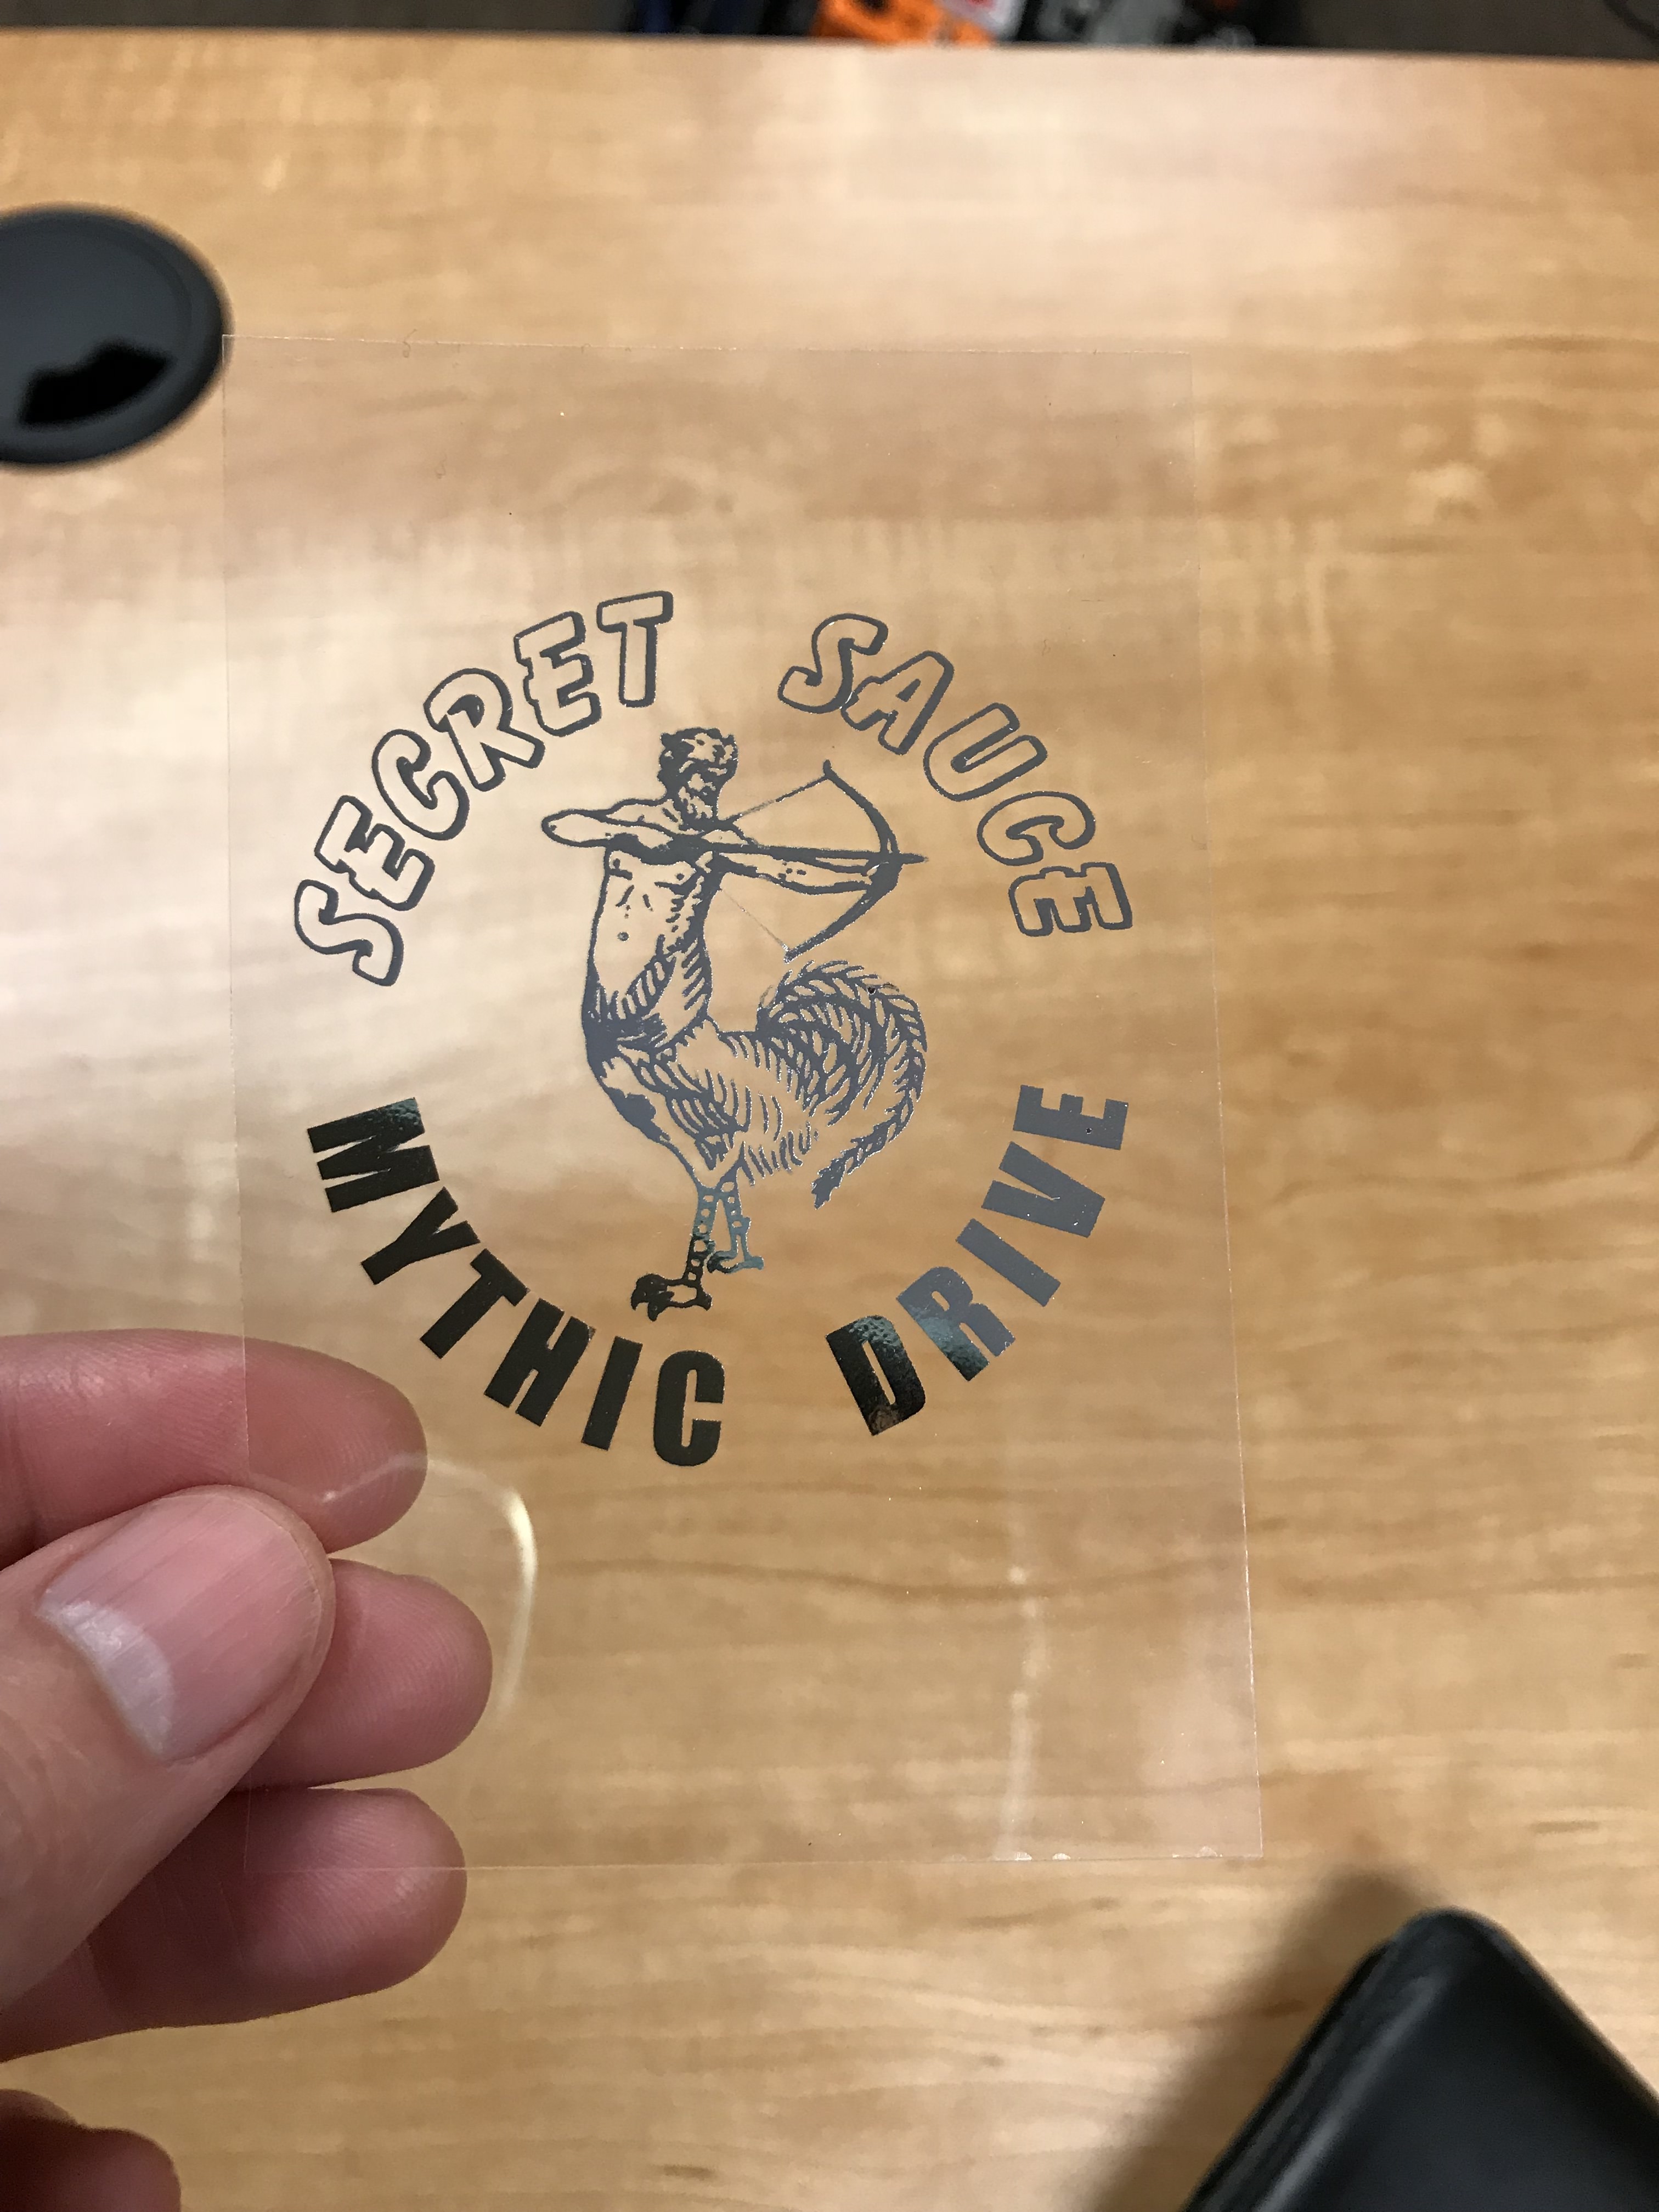
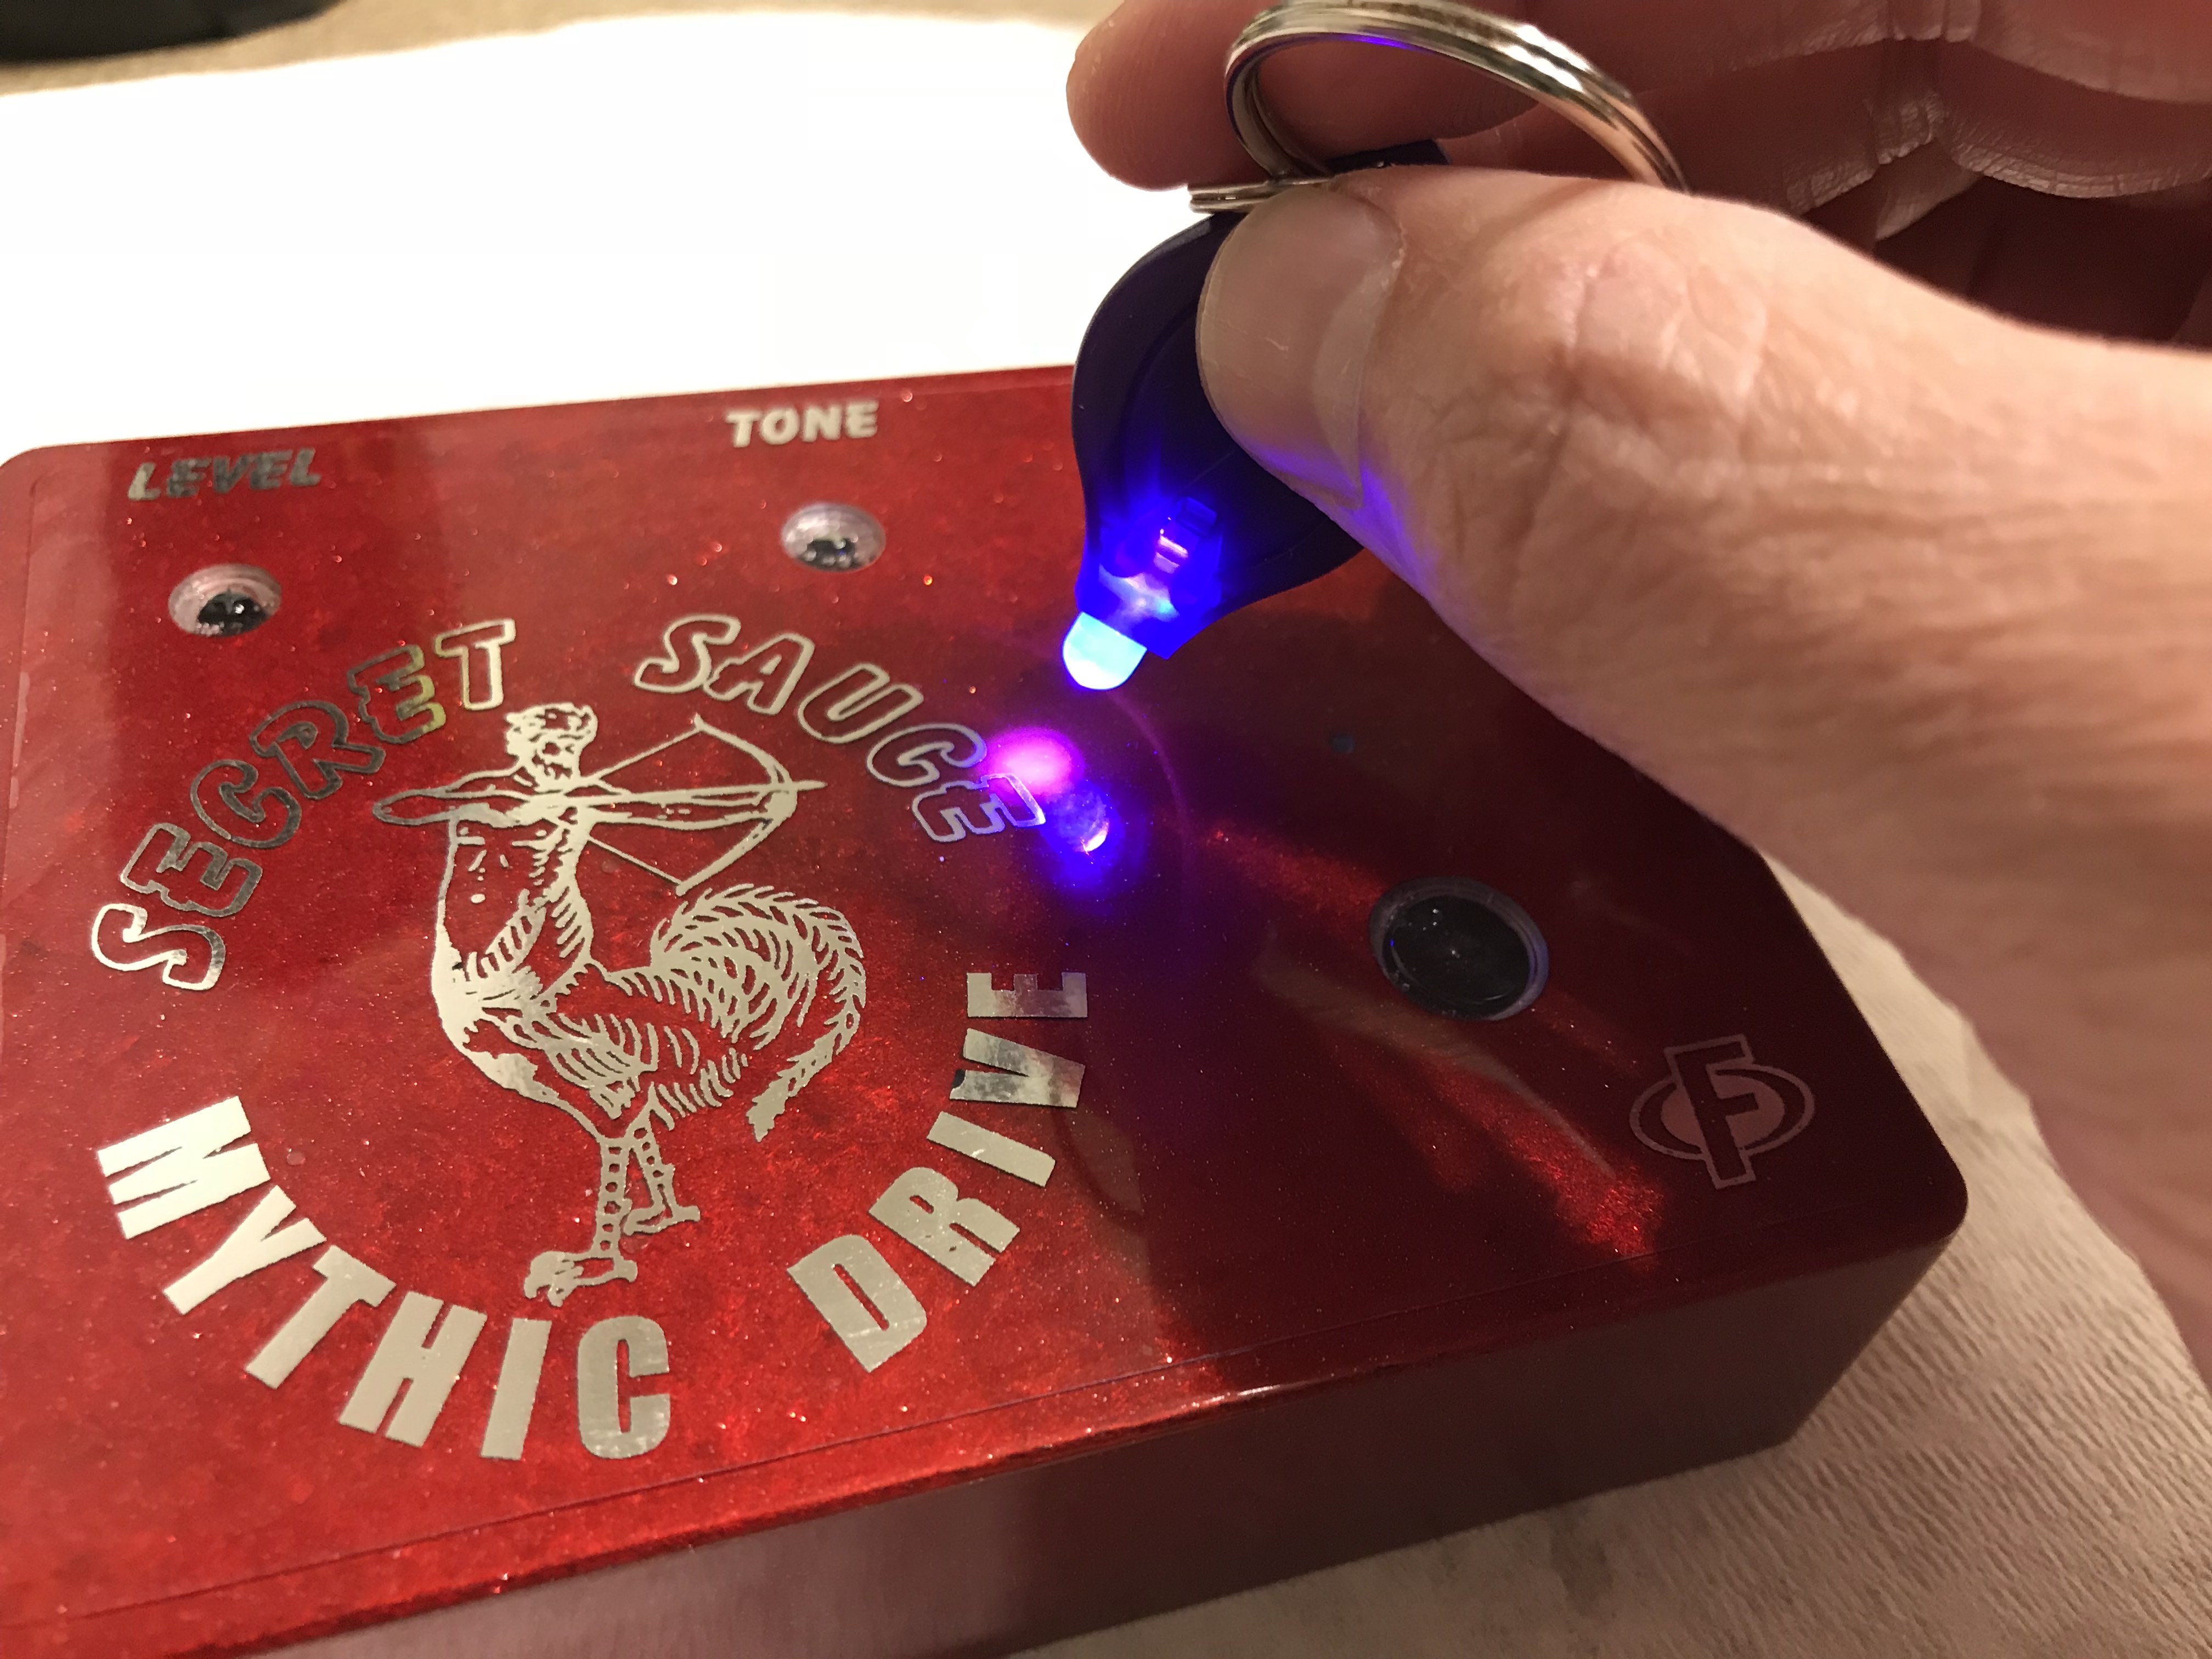
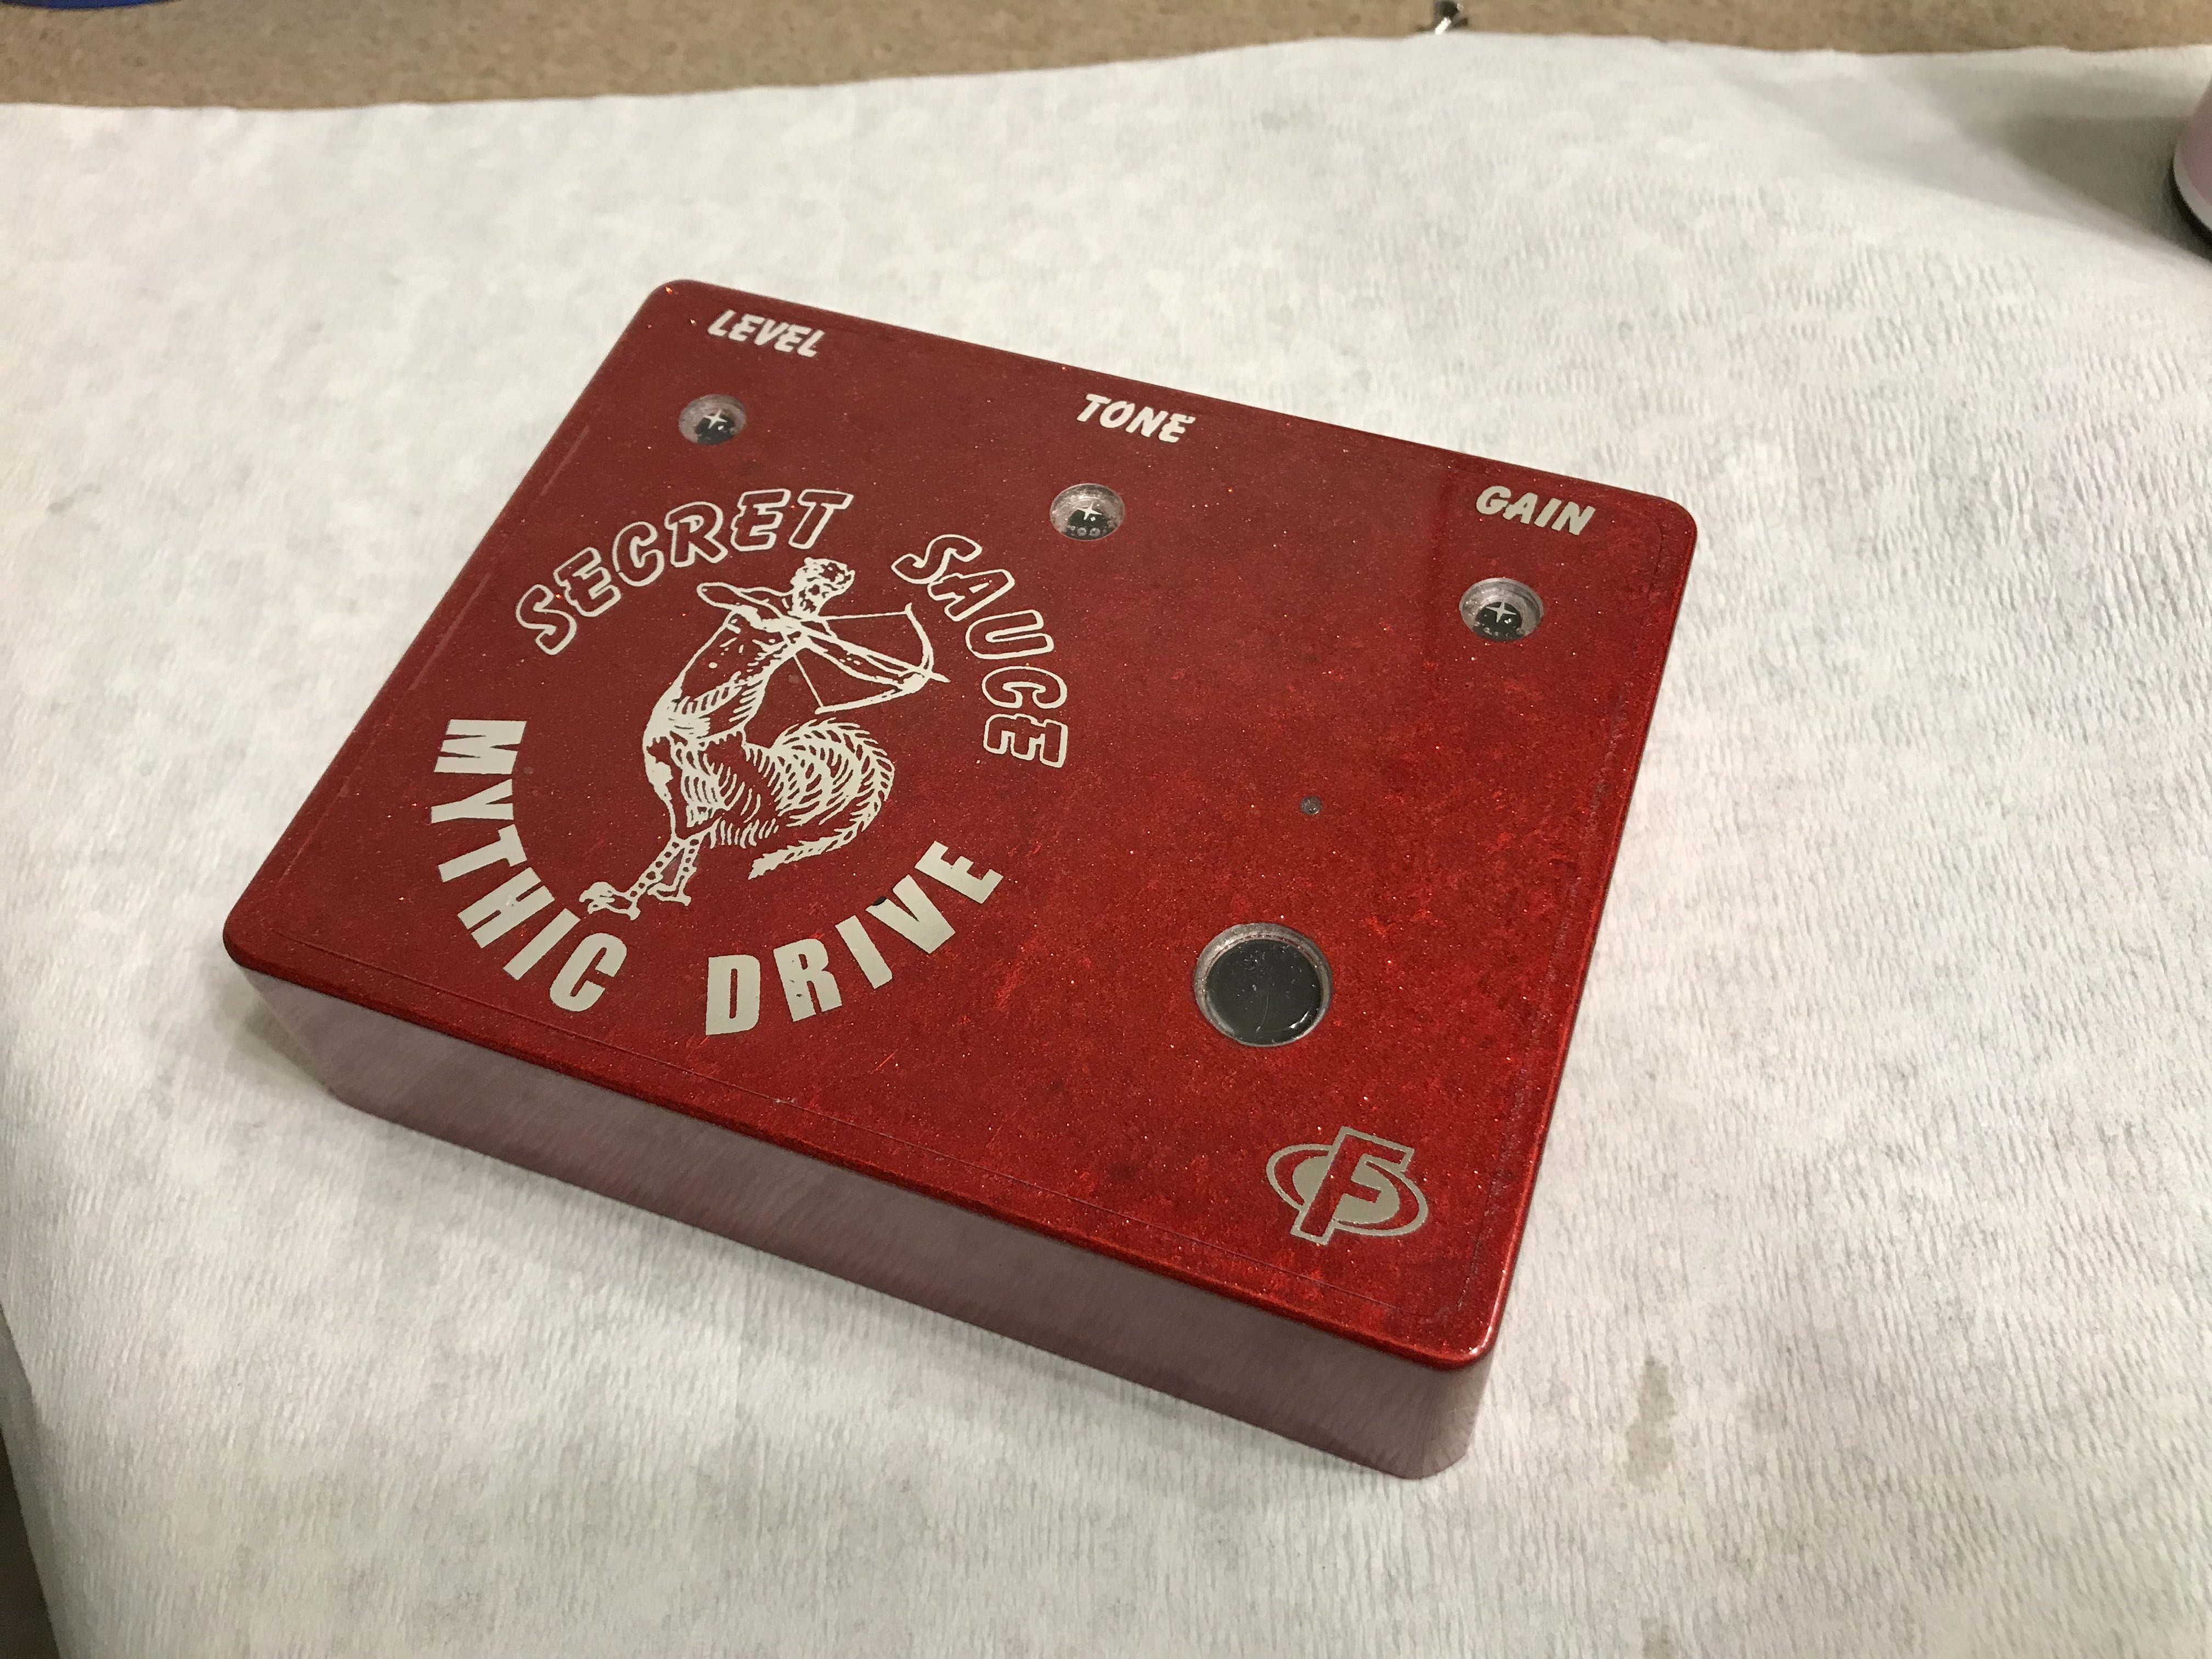
In progress: The acetate label (top), UV curing (middle) and two-part resin flow (bottom) for Lee Campen's Secret Sauce pedal.
Any tips for new pedal builders?
Lee: Definitely get involved with a community of other builders. I highly recommend Madbean Pedal Forum, because the culture there is ridiculously friendly and helpful. Beyond that?
- “Rock it before you box it,” is the mantra to live by. Get your circuit tested and working before you commit to putting it into an enclosure. You will save yourself troubleshooting nightmares. A simple test rig can help with this.
- Get some reusable adhesive, such as Blu-Tack. I use it constantly, probably more than both my hobby vise and PCB vise combined. (In my opinion, make sure you get Bostik brand Blu-Tack and not the off-brands. It’s the only stuff to use. I get it on Amazon because they don’t sell it near where I live.)
- If you want to try using Deco Foil graphics, be prepared to be patient and do some trial and error. And, if that’s not your thing, just do a waterslide. :)
***
For more information on thermal bonding, the Secret Sauce klon or any of Lee's pedals, visit Lee's profile on Madbean, where he posts under the name "Leevibe."